
How to make a paper bow.

Supplies you will need:
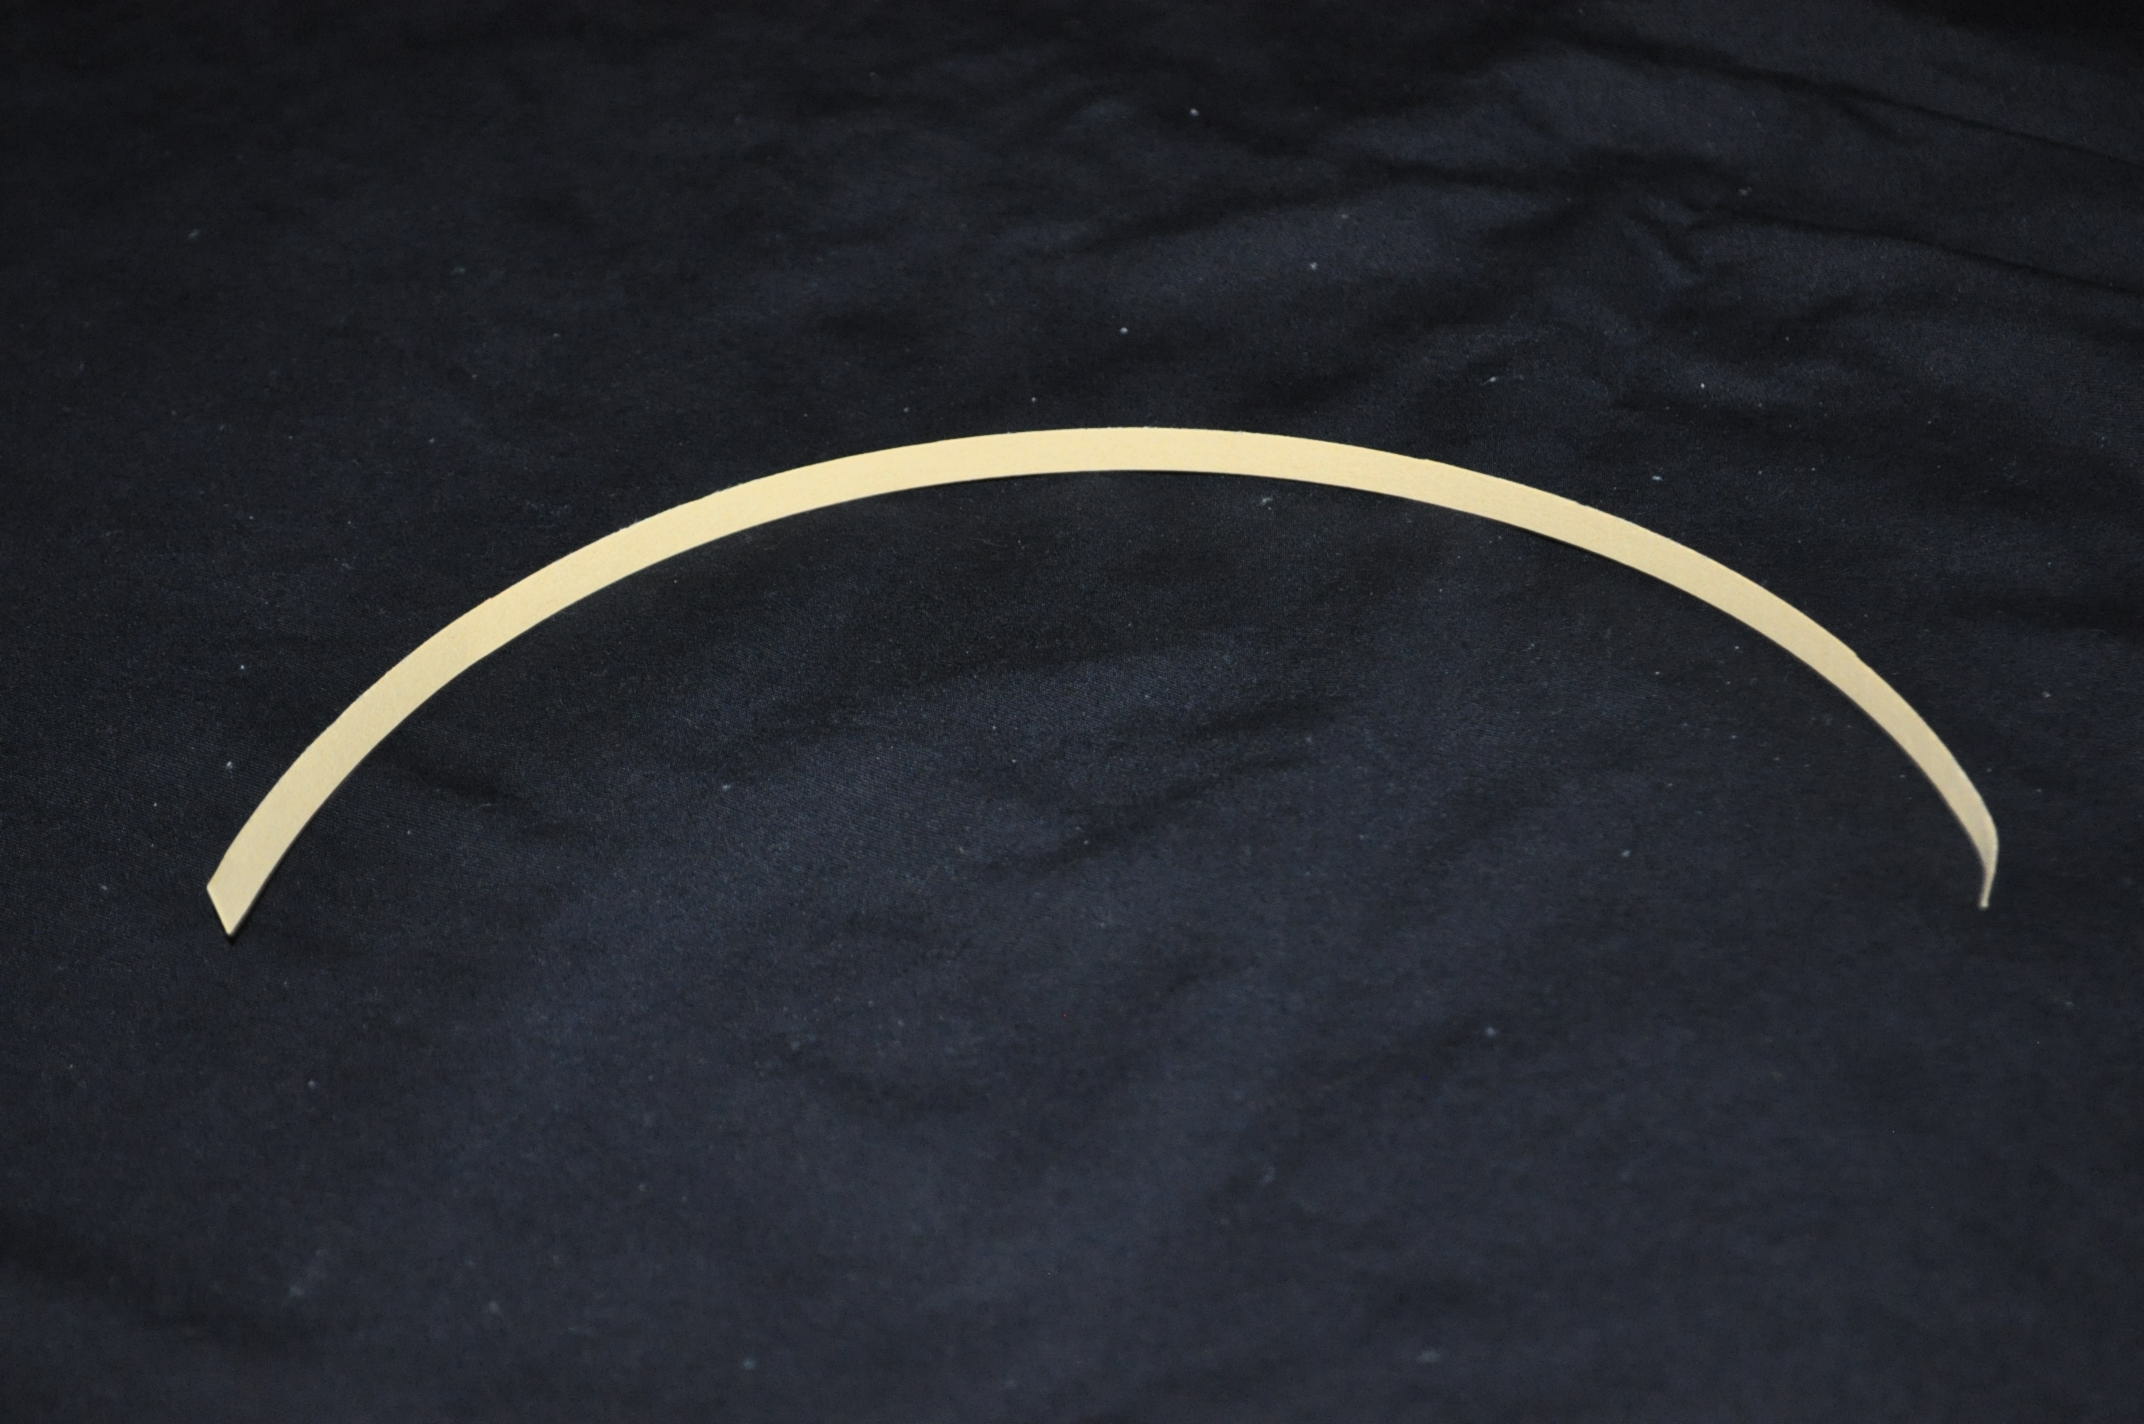
- a long strip of paper
- paper snips
- snail adhesive
- Some kind of embellishment (optional)

Step One: If you are using thinker card stock, run the strip through your fingers a few times. This helps to break up the fibers of the paper and will help reduce unwanted creases or folds. Your paper will have a slight curl to it after. 
Step Two: Start at one end of the strip. This will be the center top of the bow. Loop the paper back on itself twice to make the top loops of the bow.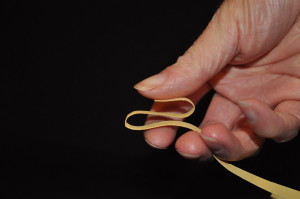
Loop the paper two more times making larger loops for the bottom two loops of the bow.
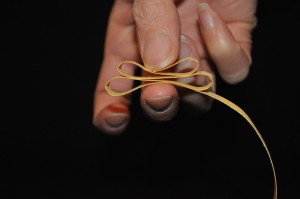
Cut off excess paper.

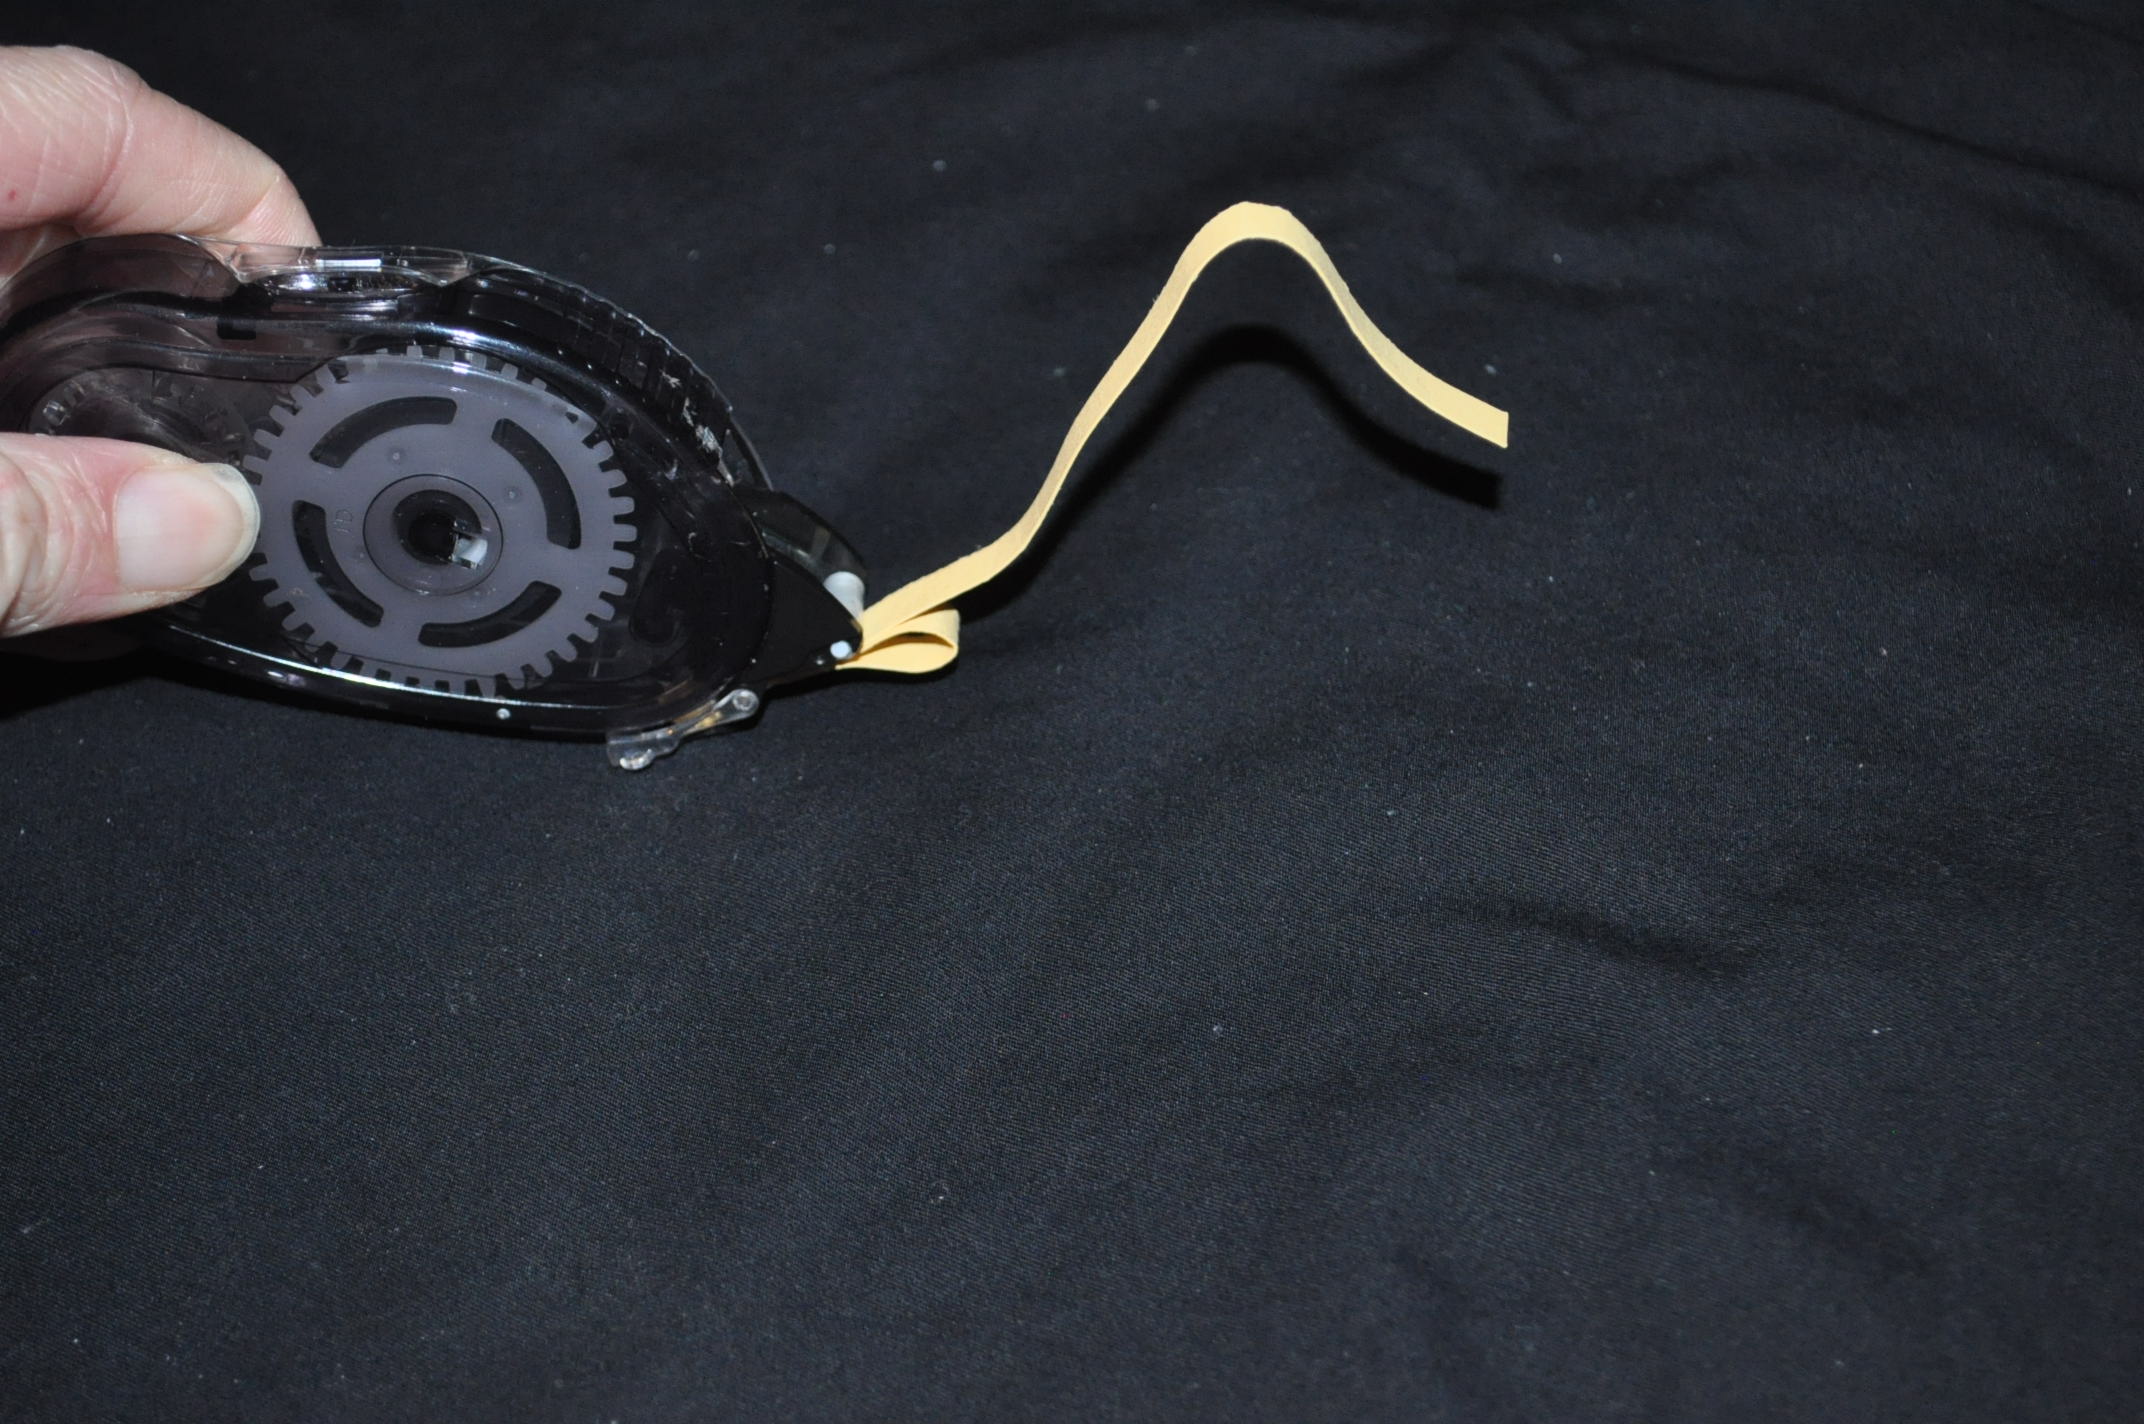
Step Three: Apply some snail adhesive to the centre of each layer of paper to hold it in place.

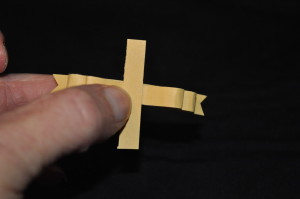
Step Four: Cut v’s on either side of another strip of paper for the “tails” that the bow will sit on.

Attach to the bottom of the bow. 
Step Five: Wrap your last peace of paper around the centre of the bow, cutting off any excess there may be.
Attach it at the bottom.

Step Six: Add what ever embellishment you like to the bow.
Note: I used one long strip of paper and just kept using the excess bits for the next step. If you don’t have enough excess paper to do this, just grab another small strip that is the same width as the strip you are using.
Here are two examples of how I used this bow this past Christmas.

I also like the idea of using it to “tie” the stems of flowers together on a spring card. Or simply to have embellish the side of something that needs a little extra dimension.
Hope you have fun trying this out.
Please post comments or questions you have about this technique. I will do my best to answer them.
One Response to A Paper Bow