Category Archives: Stampin’ Up! Product

Ideas and, I hope, helpful advice about Stampin’ Up! products.

Magical Day

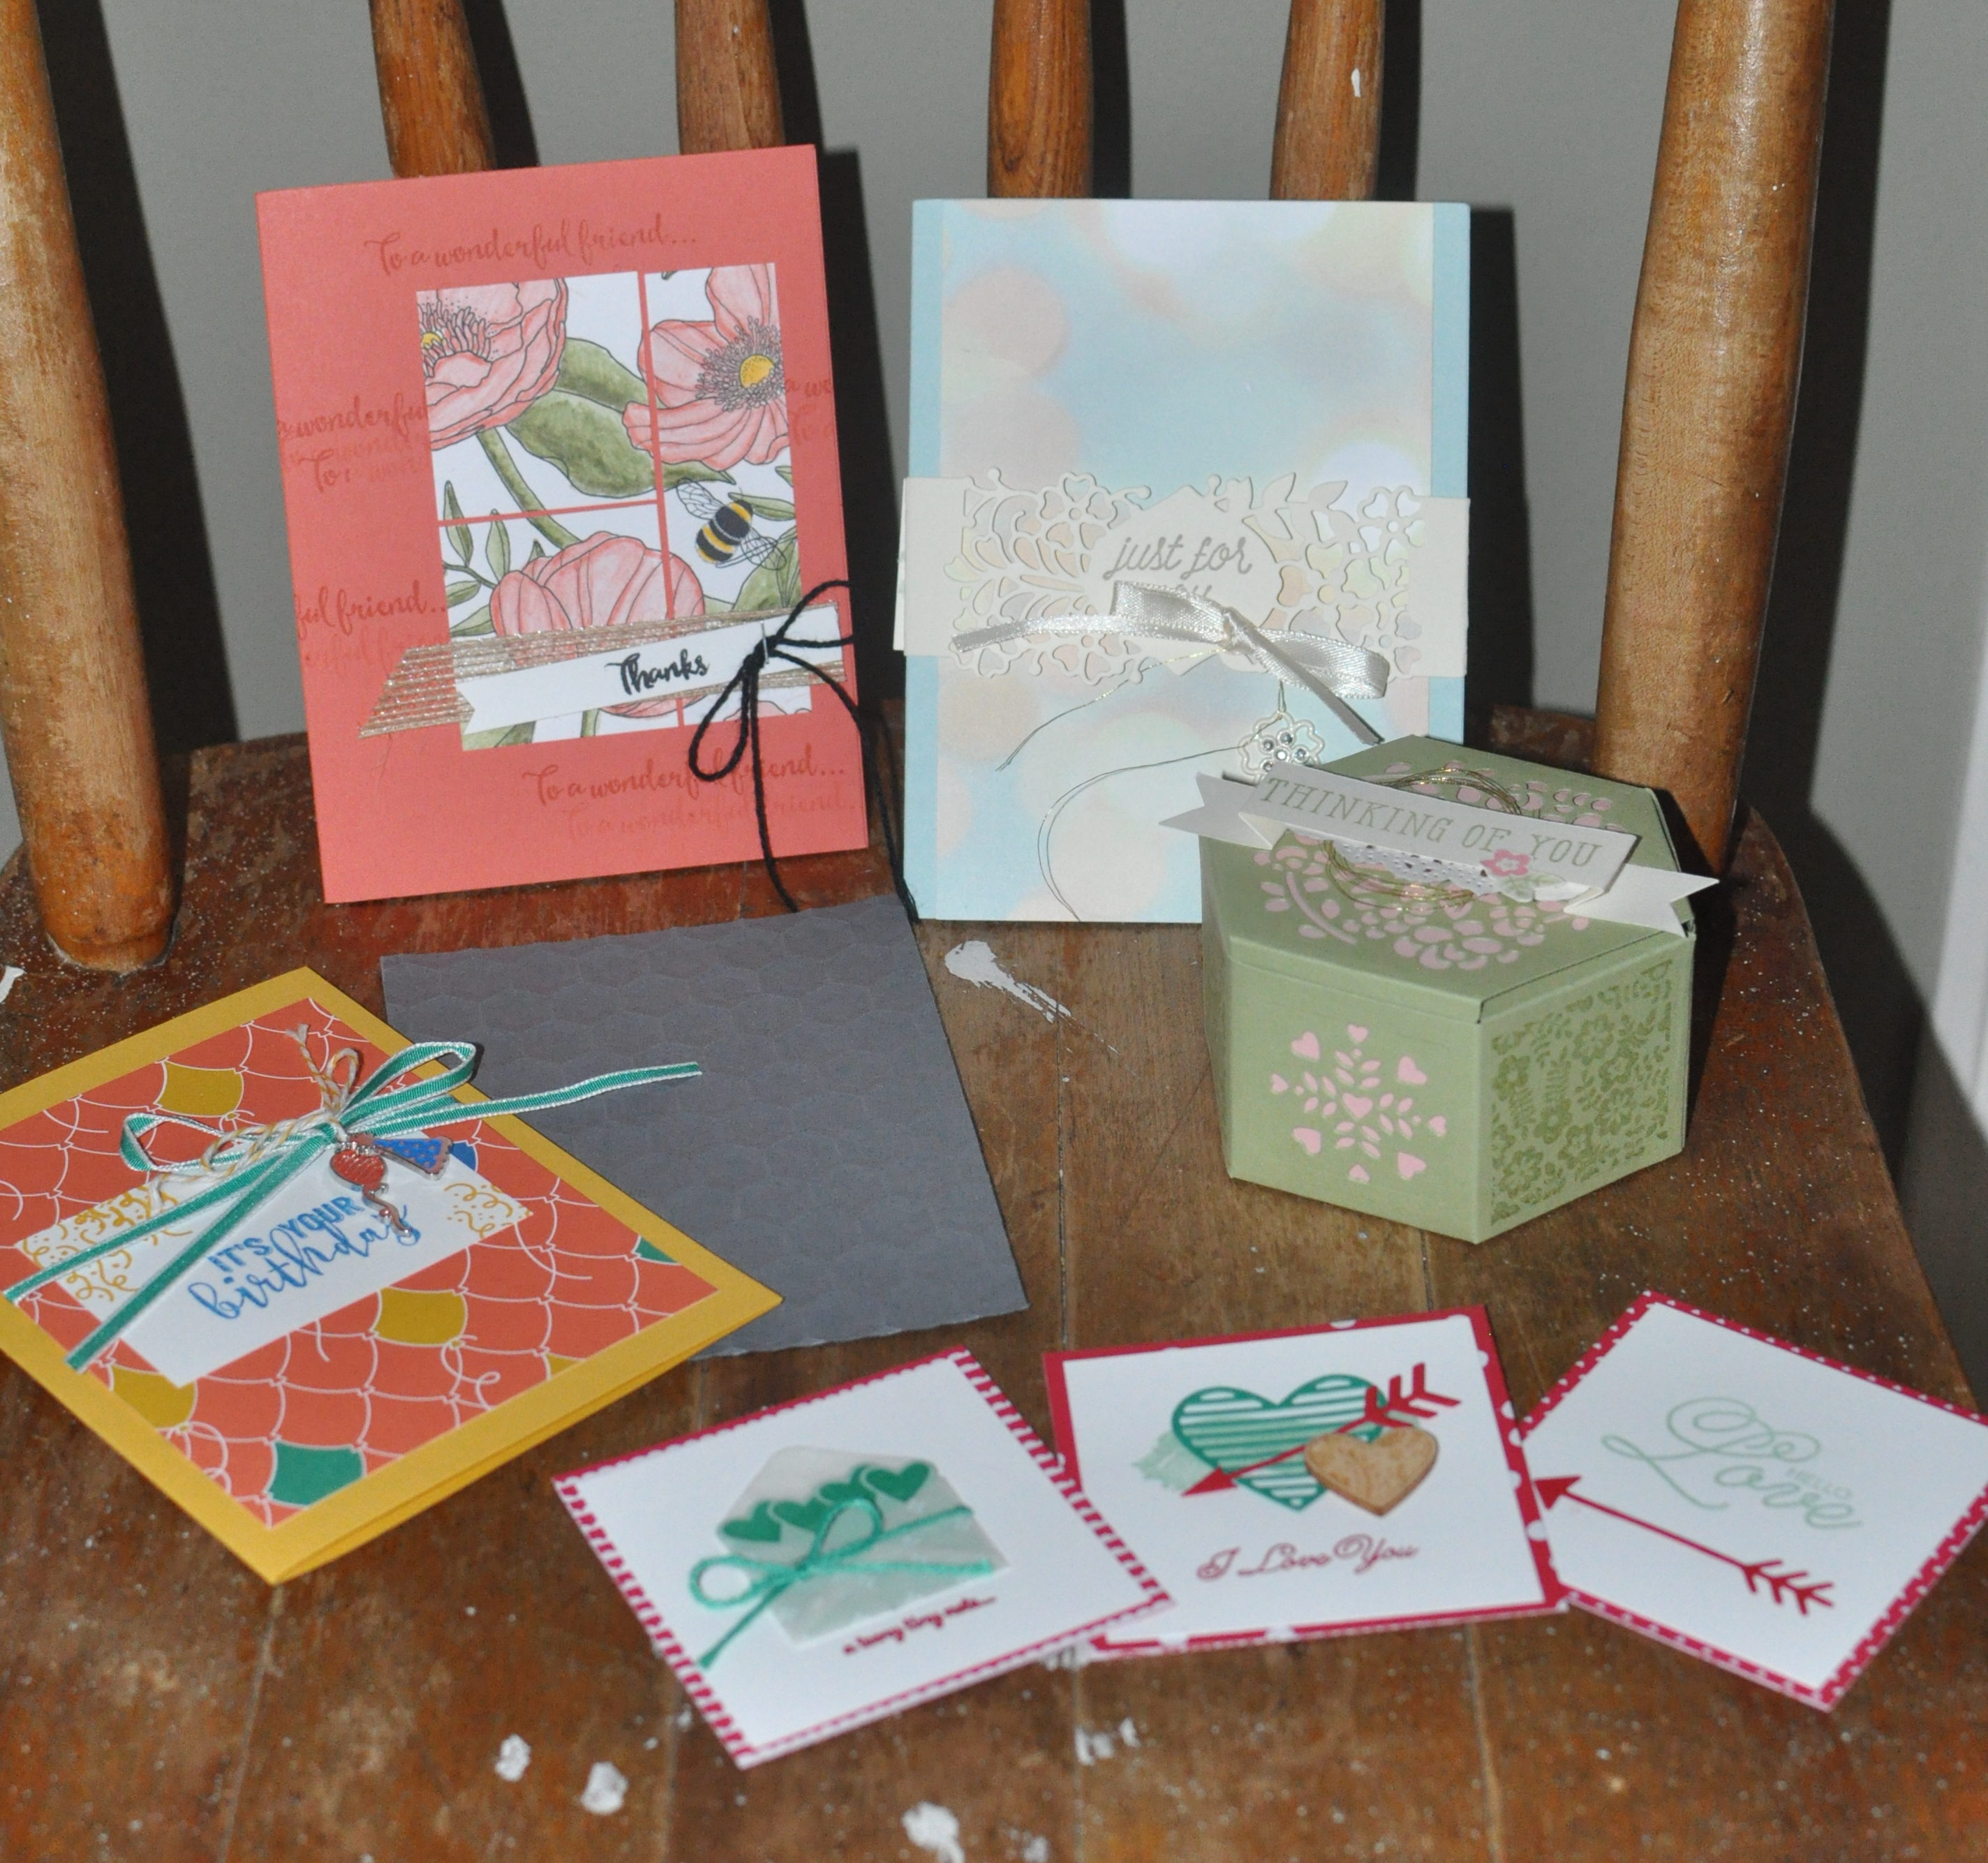
Out of all the stets that are retiring this year, I am the most sad to see this one go. It’s my favorite, by far. It’s great for kids of all ages (even us grown up ones). So here are some cards made with this amazing stamp set and coordinating dies. If you like it, please order it before it’s too late. I would hate for anyone to miss out on this one.

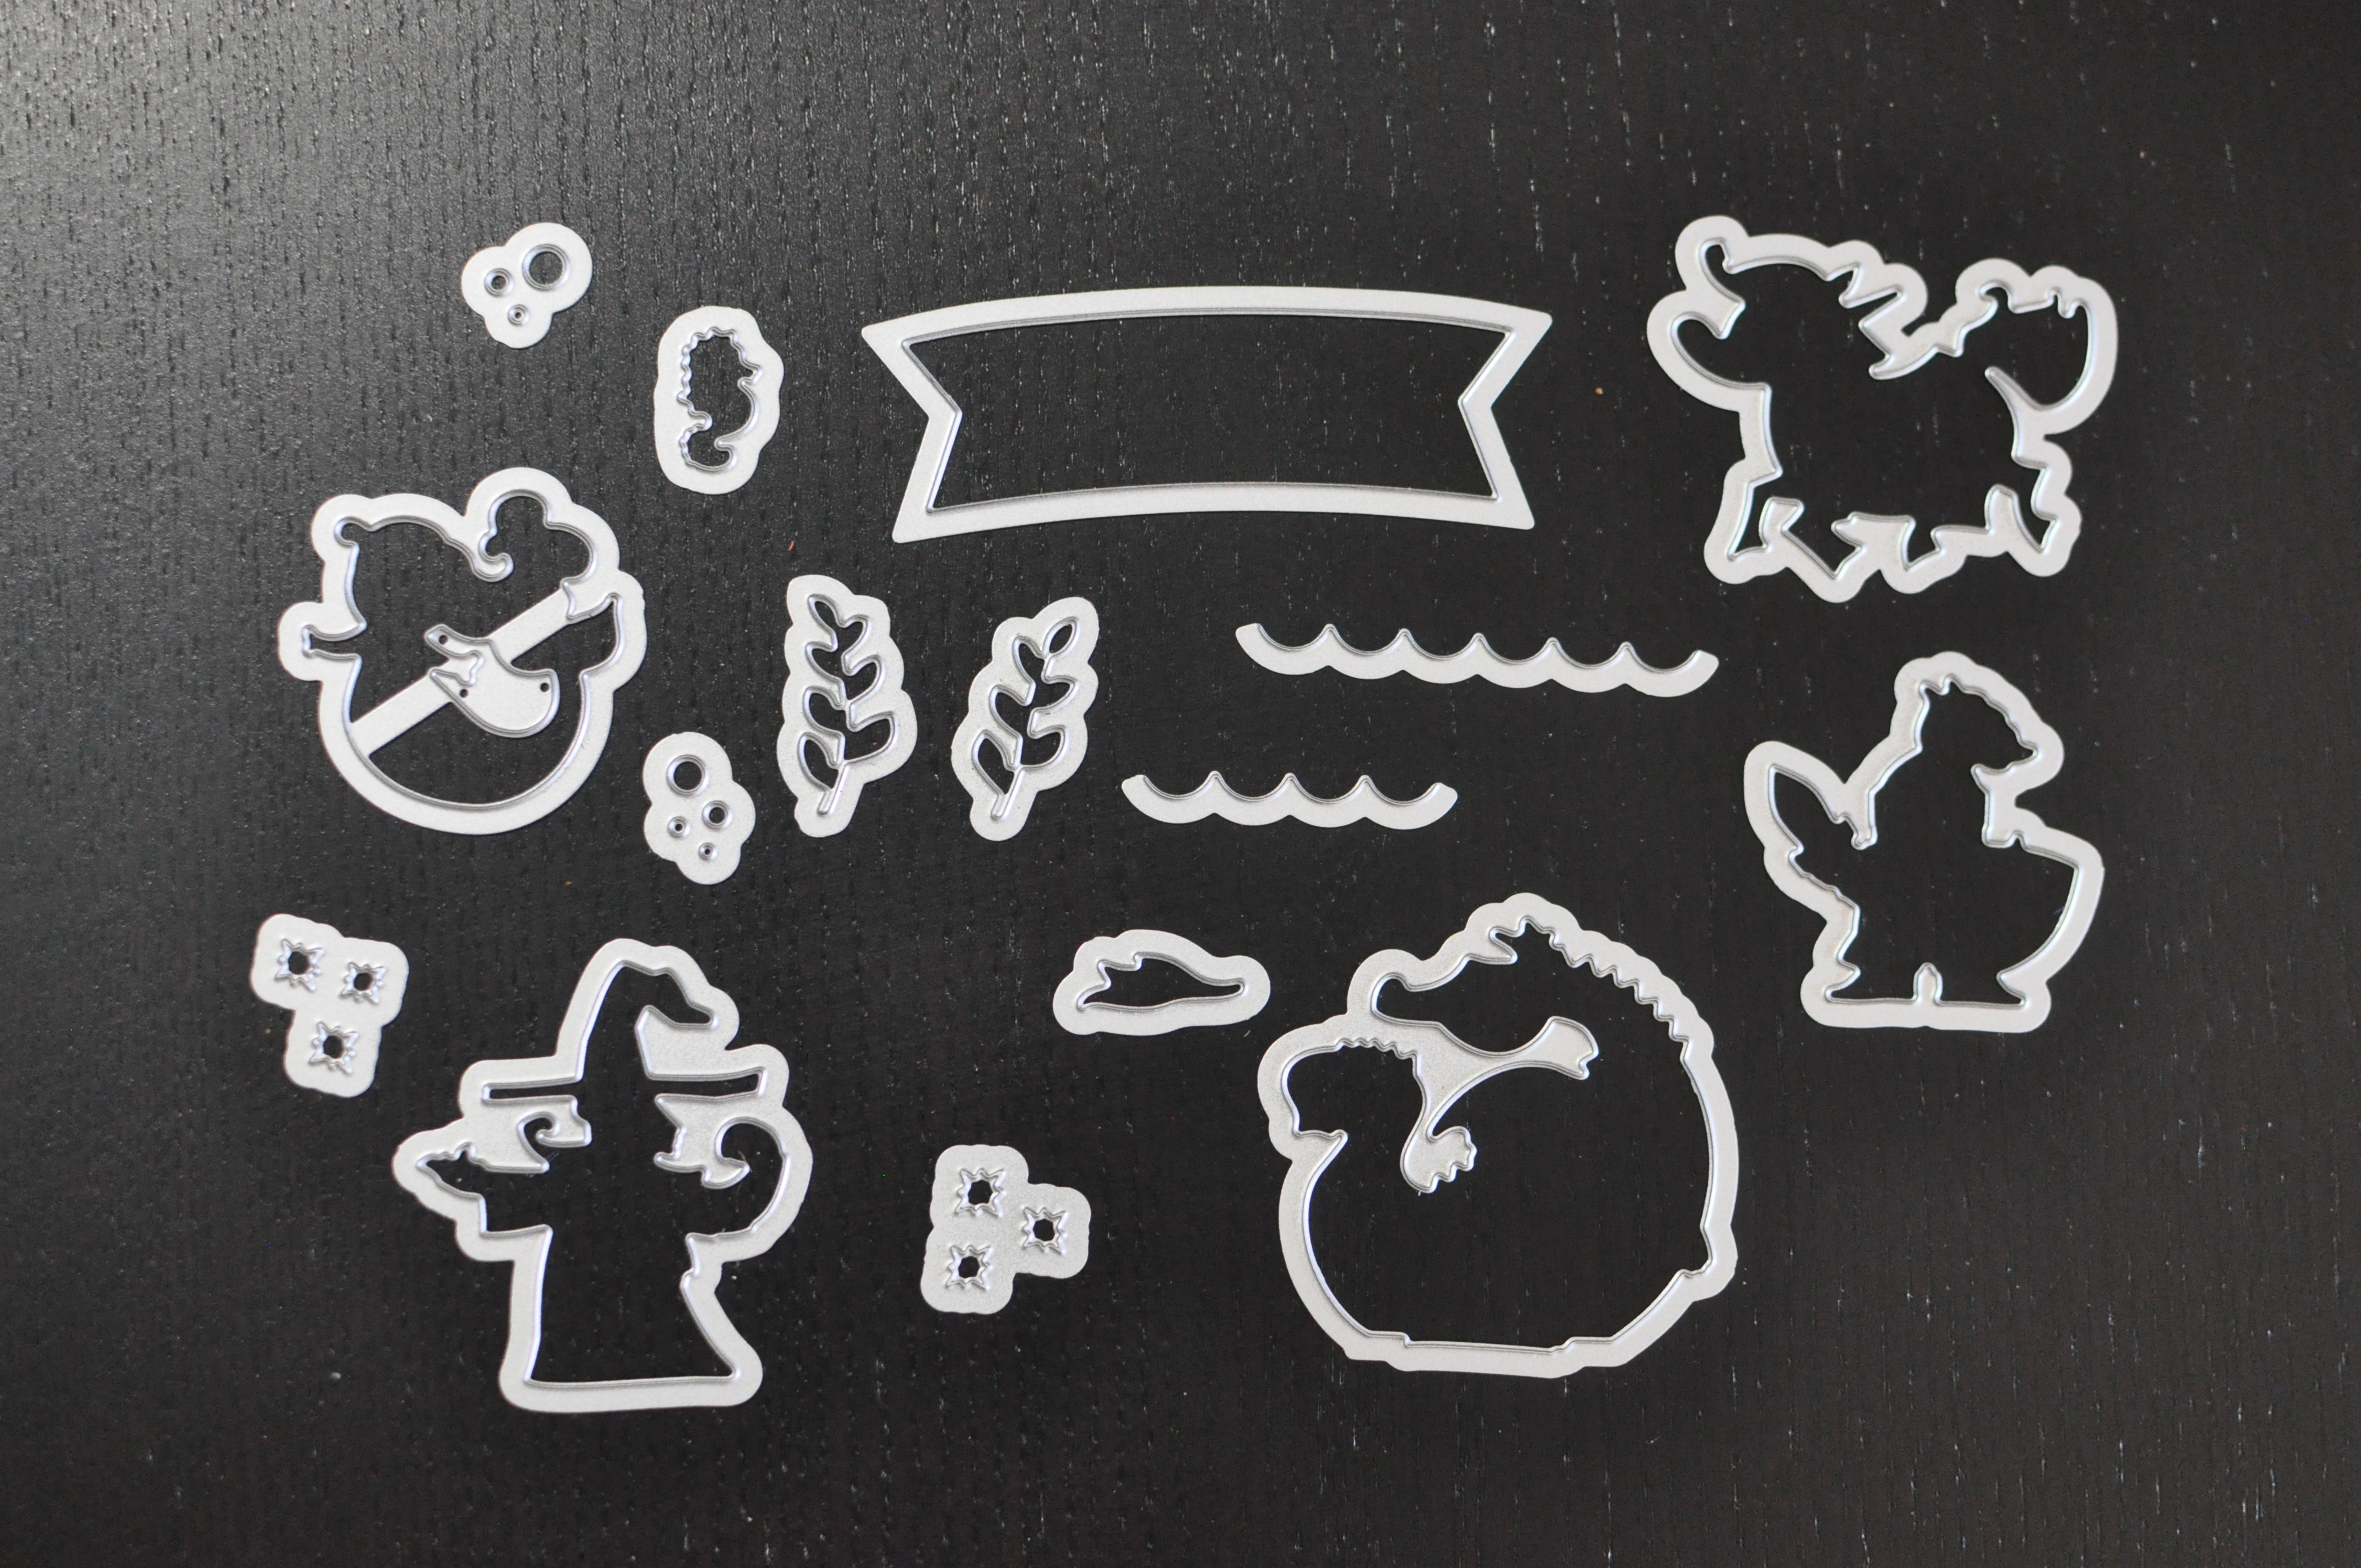
All these cards use both the Magical Day stamp set and the Magical Mates Framelits dies. All additional materials and tools are listed below each card.

  • Additional stamp set: Let the Good Times Roll
  • Cardstock: Pool Party, Pacific Point, Pear Pizzazz, Whisper White
  • Ink: Tuxedo Black, Versa Mark, Pacific Point
  • White embossing powder
  • Tools: heat gun, Lots of Labels Framelits, Water Colour Pencils, Blender Pen, Stampin’ Dimentionals, Tear and Tape, Big Shot

  • Additional stamp set: Balloon Celebration
  • Cardstock: Melon Mombo, Pool Party, Elegant Eggplant, Whisper White
  • Ink: Melon Mombo, Tuxedo Black, Versa Mark, Pasific Point
  • Stampin’ Write Markers: Real Red, Calypso Coral, Daffidil Delight, Pear Pizzazz, Garden Green, Marina Mist, Elegant Eggplant
  • Embelishments: White Embossing Powder, ribbon
  • Tools: Heat tool, Big Shot, Tear and Tape, Stampin’ Dimentionals, Tri-corner punch

  • Cardstock: Rich Razzleberry, Wisteria Wonder, Whisper White, Myths and Magic Glimmer Paper
  • Ink: Tuxedo Black, Rich Razzlberry, Pacific Point, Water Colour Pencils
  • Tools: 2″ circle punch, 1 3/8″ circle punch, Owl punch, Big Shot, Stampin’ Dimentionals, Blender Pen, Stampin’ Sponge, Tear and Tape

  • Cardstock: Bermuda Bay, Pool Party, Whisper White, Very Vanilla, Pear Pizzazz, Garden Green, Myths and Magic Glimmer Paper
  • Ink: Tuxedo Black, Bermuda Bay, Stampin’ Blends Markers
  • Tools: Seaside Embossing Folder, Tear and Tape, Stampin’ Dimentionals, Big Shot, Aqua Brush


Pleated Ribbon Border

Hello one and all. I saw this trick done once and I loved it so much that I thought I would share it will all of you. I hope you love it as much as I do. If you find the video a little hard to see, I have also added two picture of what the project looks. I think it’s time I got a video recorder…


Here is a picture of the ribbon all folded over.

And here is a picture of what it looks like on the finished card.

Starting your Crafting Hobby

So many people would love to start making their own cards because it’s fun and meaningful. The value of a hand made card is so much more then one bought form a dollar store. People feel loved and appreciated when someone has gone to the effort to make them something. I have seen this time and time again.

I love making a difference in people’s lives and I would love to help others make a difference in their friends lives too. That is one of the reason’s I started selling Stampin’ Up! product. But when I hand people the catalogue and they really want to get something, they look and look and then put it down saying, “there is so much in there, I have no idea where to start.” They end up not getting anything and I feel bad that I was not able to help them in their desire to make a difference.

So I finally came up with my idea of a good starter kit. I also made a video on how to use these products. I hope this inspires you as much as it inspires me.

  • Stampin’ Dimensionals (regular or mini) $5.25
  • Stampin’ Mist $6.00
  • Stampin’ Scrub $22.50
  • Whisper White or Very Vanilla cardstock $11.25
  • Cardstock Pack (you chose what colours you like) $10.00
  • Linen Thread $6.25
  • Tuxedo Black Momento Ink Pad $8.00
  • Classic Ink pad (colour of your choice, probably match your cardstock pack) $8.50
  • Stampin’ sponges $4.25
  • Clear block E $16.00
  • second colour of ink $8.5
  • Blender pens $16.00

This brings the total to $122.50 meaning you can either pick 2 level 1 sale-a-bration items, or 1 level 2. I recommend Happy Wishes stamp set.

To order this starter kit, or something similar, please e-mail me at:

lora-lynne@frewing.ca

faux metal embellishments

Welcome to my first technique video! Here I show you how to make your own faux metal embellishments (like the title says). There are pictures after the video showing more detail so please read to the end. Thanks.

Here is a picture of three different stages in the prossess. Starting on the left in one coat of embossing powder. The one in the middle has two coats. The one on the right has four coats.

You can see the embellishment get thicker with more coats of embossing powder. I have been able to get away with only three coasts. The thing you are looking for is that the whole piece looks rounded and there are no little dimples left.

Oh and be careful you don’t blow away all your embossing powder like I did in the video. It makes an awful mess and if you don’t vacuum it up right away it can get embedded into your carpet. It will eventually come up, it just takes a while.

2017 Occasions Catalogue

It’s finally here. I went to Stampin’ Up!’s convention call On Stage back in November and they revealed this wonderful catalogue there. I have been trying very hard to keep it a secret ever since. Not any more. Here it is, in all it’s glory! Along with a few projects I have done with the new product.

Occasions 2017

Click the image above to see the catalogue on-line. Or let me know you want one and I can get one to you.

dsc_0092

All but the box and the gray embossed paper are projects we did at On Stage. It’s a supper fun event only for demonstrators. If you join my team, you can get in on this exclusive event!

Pine Bow Embossing Folder

Holiday catalogue preview! These projects show off one of the new embossing folders. I love Chritmas bobbles, but I never had anything to hang them off of. Now I do! I hope you enjoy these creations of mine.

DSC_0279 DSC_0277 DSC_0276

Star of Wonder bundle

Week three of my sneak peak at the new Holiday Catalogue. This bundle comes with a photopolymer stamp set and a set of thinlet dies. I was struck by the elegance of this set, and the many sayings that come with it would suit anyone. I hope you like it as much as I do.

DSC_0201

I should have made the blue card with silver instead of gold. The star above the blue card is a Christmas tree ornament. However, I didn’t have anything to hang it from so there it is.

A curious thing has happened to me. In my business, I have tired to be mindful that not everyone believes the same things. As a result, my Christmas collection of stamps was lacking any saying that had anything to do with Christ. I didn’t realize this until I read the sayings that come in this set. I only show two sayings in this picture but there are many more. Some talk about the star that lead the wise men to Jesus, others are more simple, like, “Merry Christmas.” That is one of the reasons I love this set. You can use it to make Christmas cards for both, the people who believe in the true meaning of Christmas, and those who want to celebrate it as a meaningful holiday filled with family and friends.

A Spooky Bundle

I know everyone is excited about looking at the new Christmas items in the up coming Holiday Catalogue, but I thought a little something for Halloween might be nice too. So here are two things I made while the kids were leaving me alone (I didn’t have much time). Hope you like them!

DSC_0200

This bundle comes with a stamp set and a set of thinlets. There are a few more stamps that I haven’t shown off here. Maybe another post with a few more things is in order.

Christmas Tree Boxes

I know it’s still summer, but if you are going to be making your own Christmas cards this year, you had better start thinking about them. I usually start in September with the release of the new Holiday Catalogue from Stampin’ Up! I got a sneak peak at it yesterday… I’M SO EXCITED! Sorry for yelling. I’m just really excited. It not only has some great things for Christmas, but also some of the best Halloween things I’ve seen in a long time. So I’ve decided to do a little sneak peak for all my customers. Once a week (maybe more if I have time) I will be posting projects I’ve made using some of the new things you can find in the catalogue. Hope you like them as much as I do!

DSC_0168

I don’t have any of the new product yet, so this one is using some already available product. I used the Cutie Pie Thinlets to make the trees.

Farwell

Retiring List

It’s that time of year again. Time to clean out the old and bring in the new. Stampin’ Up! has posed the retiring products. Anything that is not a stamp is only available while supplies last. And some of it is on sale (up to 50% off!) so get it while you can. The stamps (some are also on sale) will continue to be made until May 22nd. After that, they are only available while supplies last. So contact me as soon as you can and get all those things on your wishlist before they are gone forever!

Click this link to view the retiring list:

http://www.stampinup.com/ECWeb/CategoryPage.aspx?categoryid=110700